Setting Up User Roles and Permissions in Adobe Commerce: A Complete Guide
Picture this: You’ve just hired new team members for your growing e-commerce business, and you need them to hit the ground running. But wait—how do you give them access to your Adobe Commerce store without compromising security? That’s where user roles and permissions come in, and I’m here to walk you through everything you need to know.
Why Should You Care About User Roles?
If you’re running an online store, you know that trust is everything. Whether it’s protecting customer data or preventing accidental changes to your product catalogue, having the right access controls isn’t just a nice-to-have—it’s essential. Think of user roles as your store’s security guards, making sure everyone has access to exactly what they need (and nothing they don’t).
Understanding User Roles and Permissions
Let’s break this down into simple terms. User roles are like job descriptions for your store’s admin panel. Just as you wouldn’t want your social media manager changing product prices or your inventory manager posting on your store’s blog, roles help keep everyone in their lane.
Adobe Commerce makes this surprisingly straightforward. You can create custom roles that match your team structure perfectly. For example:
- Your content team can update product descriptions without touching prices
- Customer service reps can process returns without accessing financial reports
- Marketing managers can create promotions without modifying shipping settings
Getting Started: The Setup Process
Ready to set up your roles? Let me walk you through it step by step.
Step 1: Planning Your Role Structure
Before diving into the technical setup, grab a coffee and think about your team:
- Who needs access to what?
- What tasks does each team member handle daily?
- Which areas of your store should have restricted access?
Write this down—trust me, it’ll make the next steps much easier.
Step 2: Creating Your First Role
Here’s where the magic happens. Head over to your admin panel and follow these steps:
- Navigate to System → Permissions → User Roles
- Click “Add New Role.”
- Give your role a meaningful name (like “Product Manager” or “Content Editor”)

Pro tip: Make your role names crystal clear. Future-you will thank present-you when managing these roles six months down the line.
Step 3: Setting Up Permissions
This is where you’ll define exactly what each role can and can’t do. Adobe Commerce uses a tree structure for permissions, which might look overwhelming at first, but stick with me.
Think of it like building a custom menu for each team member:
- For content writers: Grant access to the catalogue and CMS pages
- For customer service: Enable order management and customer information access
- For marketers: Allow promotion creation and banner management
Remember: When in doubt, give less access. You can always grant more permissions later if needed.
Step 4: Adding Users to Roles
Once your roles are set up, adding users is a breeze.
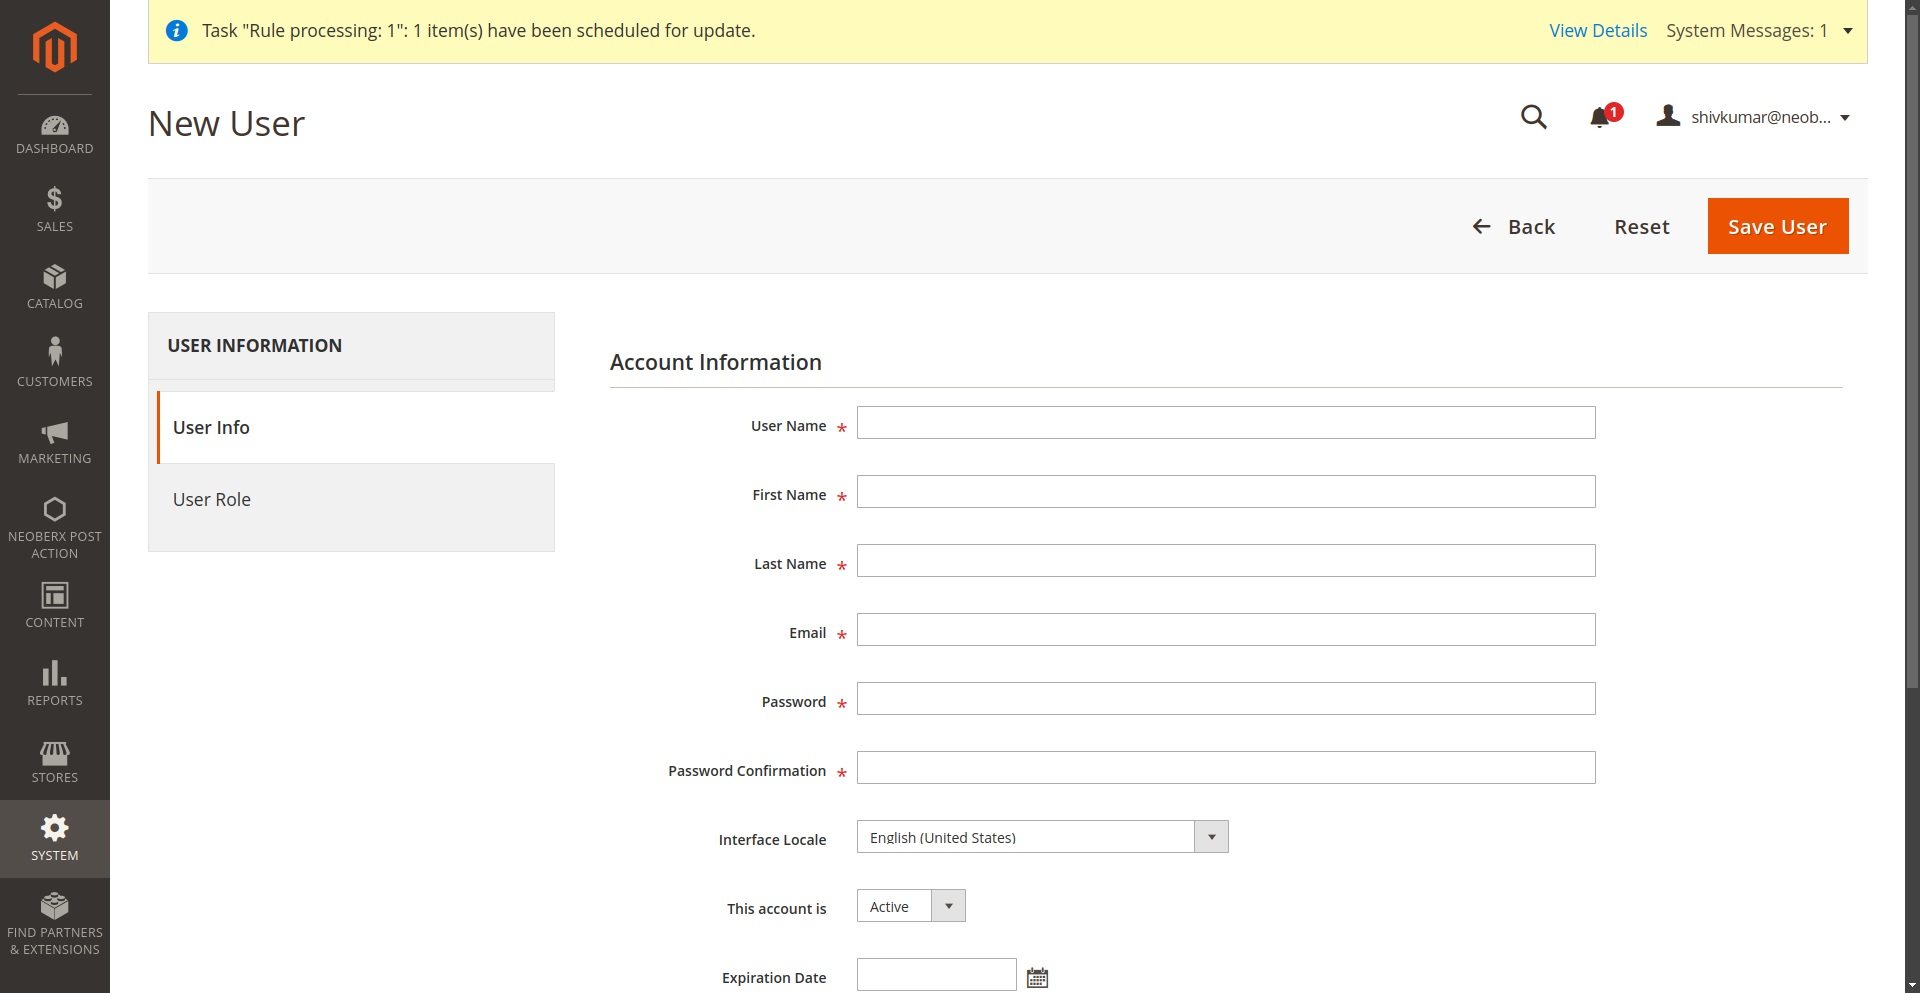
- Go to System → Permissions → All Users
- Create a new user or edit an existing one
- Assign them to their appropriate role
Best Practices (Learned the Hard Way)
After years of working with Adobe Commerce, here are some golden rules I’ve picked up:
- Keep It Simple: Don’t create more roles than you need. More roles = more management headaches.
- Regular Reviews: Set a calendar reminder to review roles quarterly. Teams change, responsibilities shift, and your permissions should keep pace.
- Document Everything: Keep a simple spreadsheet of who has what access. Trust me, this becomes invaluable as your team grows.
Troubleshooting Common Hiccups
Even the best-laid plans can hit snags. Here are some common issues and their fixes:
- Users can’t access something they need? Double-check the resource tree – sometimes parent permissions are needed for sub-items to work.
- Someone has too much access? Remember to revoke higher-level permissions before assigning more specific ones.
- Getting error messages? Clear your cache and check if the user is logged in elsewhere.
Taking It to the Next Level
Once you’ve mastered the basics, consider implementing:
- Two-factor authentication for admin users
- Regular access audits
- Custom role templates for different departments
Wrapping Up
Setting up user roles in Adobe Commerce might seem daunting at first, but it’s really about matching your store’s digital security with your real-world team structure. Take it step by step, start with the basics, and build up as your confidence grows.
Remember: Good security doesn’t have to be complicated; it just needs to be thoughtful and consistent.
Need more help? The Adobe Commerce community is incredibly supportive. Don’t hesitate to reach out on the official forums or connect with other store owners who’ve been in your shoes.
Happy role-setting! 🚀
